
The idea of performing maintenance on your trailer, even a relatively simple task such as replacing your boat trailer bunks, may seem overwhelming. However, performing this job yourself can be easy and less expensive than taking your trailer to local shop. In this step by step guide we will show you how to replace the carpet on your trailer bunks as well as how to replace your entire trailer bunk. Follow these simple steps and you’ll do the job right and for much cheaper.
How to Replace your Trailer Bunks & Carpet – 8 Easy Steps
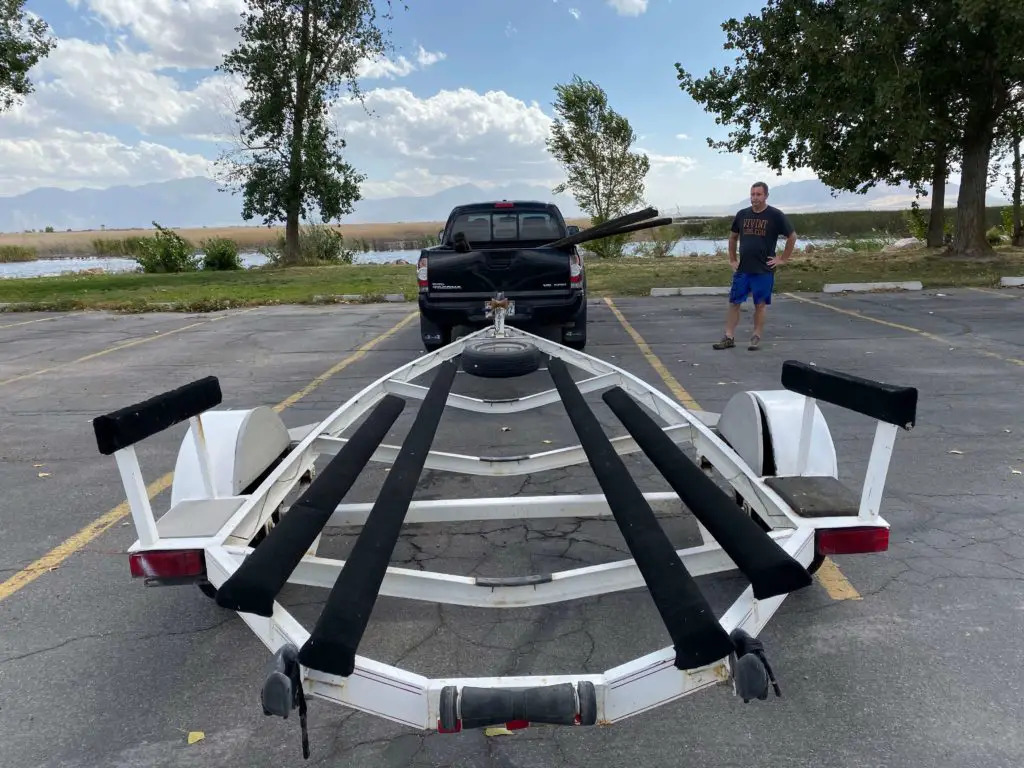
Step 1: Inspect and Measure Boat Trailer Bunks
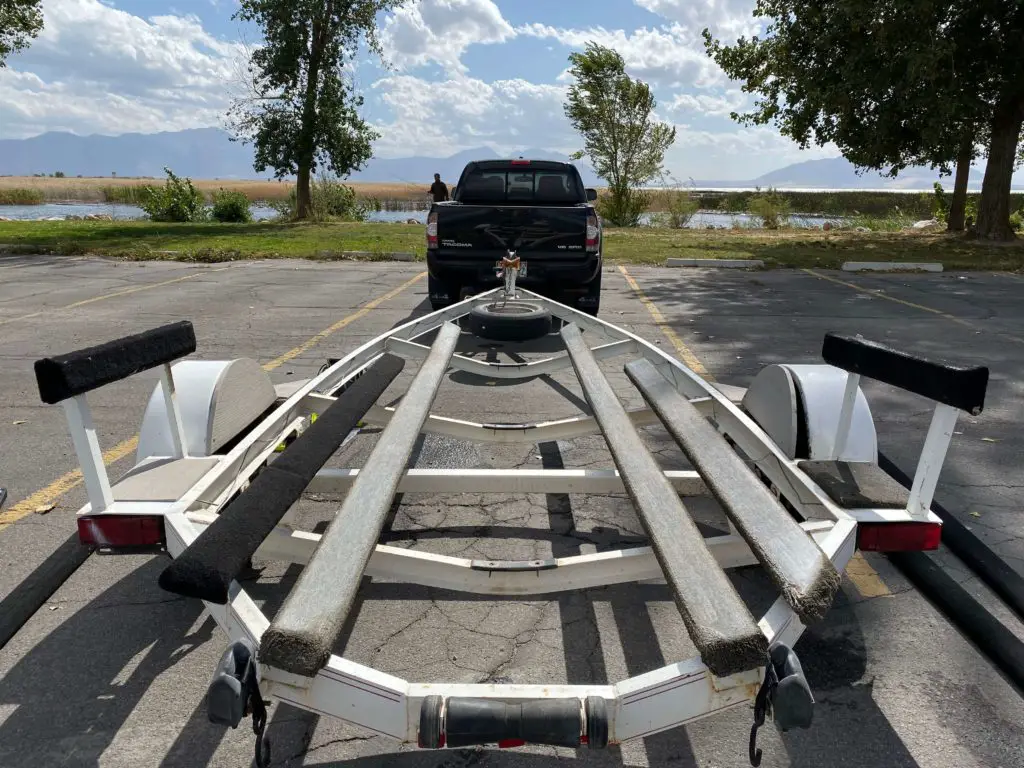
First things first, create a plan and determine what needs to be replaced. This is best done by thoroughly expecting all of you boat trailer bunks and checking for damaged boards and worn out carpet. During your inspection if you can visibly see any signs of fraying, tears or damage it’s time to get the carpet on you bunks replaced. Make sure to also inspect the wood on your bunk boards as they likewise might need to be replaced. If you see any indications of damage such as bowing, warping or any other kind its best to replace the entire bunk.
After you have a good idea of what you’ll need to get replaced, it’s time to get some measurements. Measure the length and width of each trailer bunks and determine the amount of surface area you’ll need to cover with the new carpet. If the entire bunks need to be replaced, make sure to write down the exact measurements for each bunk as they tend to be different sizes depending on the trailer.
Once you have inspected the carpet, wood and gathered the right measurements it’s time to start collecting the proper tools and materials for this job.
Step 2: Gather Tools & Materials
Before you get too far into the process it’s important to understand the tools you’ll need to make this a successful project. Different tools and material may be required depending on if you’re planning to replace your entire boat trailer bunks or just the carpet. But don’t’ worry we cover both. Here is a list of tools you’ll need for both of these scenarios:
Tools & Materials for Replacing Just the Carpet
- Marine Grade Carpet Replacement
- Staple Gun
- Stainless Steel Staples or Glue
- Pliers (to remove old carpet)
- Utility Knife (to cut the carpet)
- Pencil/Marker
- Measuring Tape
Tools and Materials for Replacing Entire Bunk
- Marine Grade Replacement Carpet
- Staple Gun
- Stainless Steel Bolts
- Stainless Steel Washers
- Wood
- Stainless Steel Staples or Glue
- Utility Knife (to cut the carpet)
- Circular Saw
- Cordless Drill
- Socket Set
- Measuring Tape
- Marker/Pencil
Step 3: Buy Material (carpet, wood, bolts, staples etc.)
Now that you have a good idea of the right tools and materials you’ll need the next step is to get organized and purchase (or borrow) what you will need for the project. The two lists in step 2 have every you’ll need but if you’re missing some things, I’d recommend getting them before you get started. Here are tips and things to consider when buying the carpet, wood, staples, glue and other needed material:
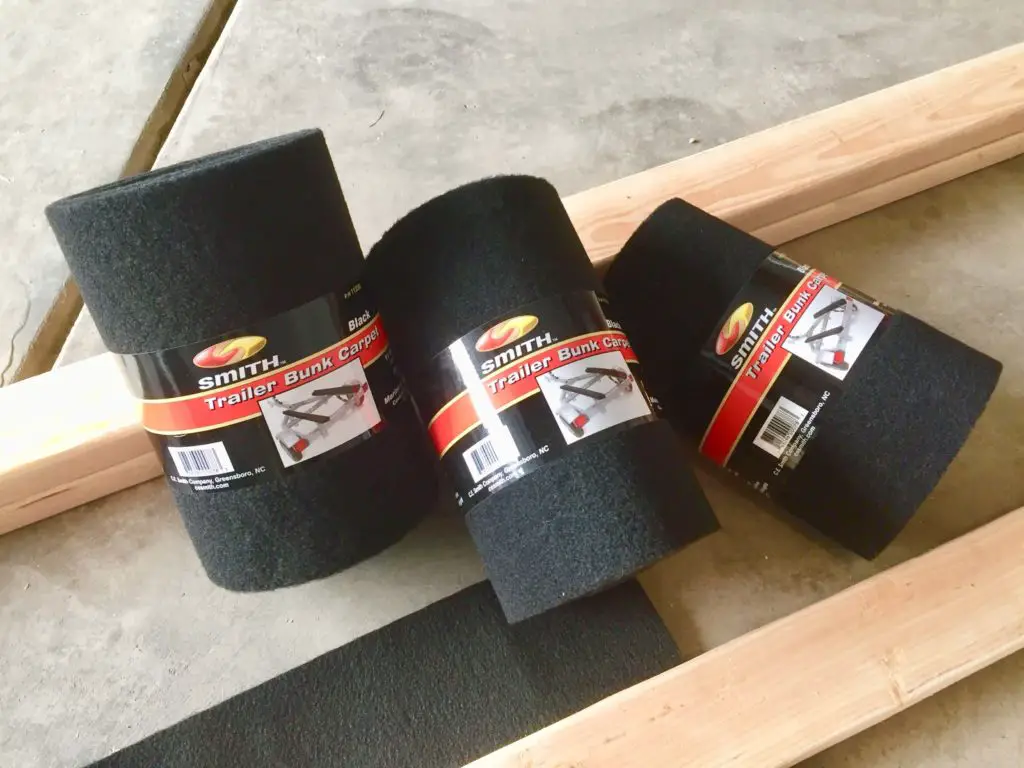
Replacement Carpet
The best carpet to use when replacing your bunk carpet is a quality marine grade carpet. You’ll want a carpet that holds up during tough marine conditions, has little water absorption, and is treated to prevent mold and mildew. For more in depth information about selecting the best replacement carpet for trailer bunks check out this article for more details
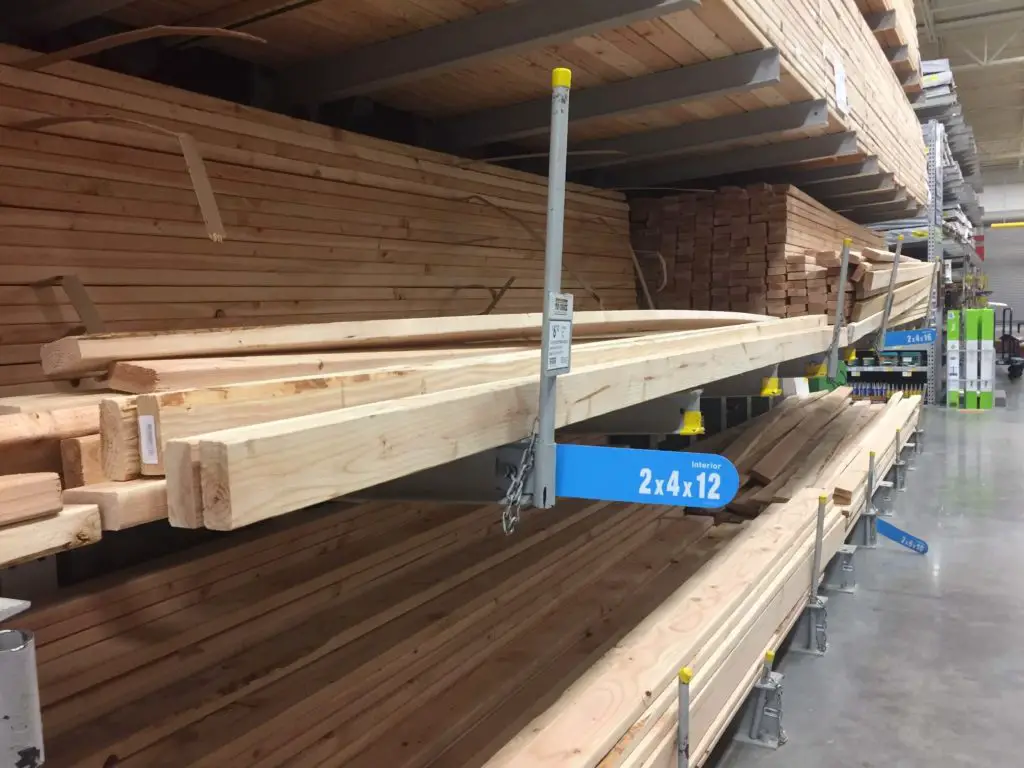
Bunk Wood
There are a lot of different opinions on pressure treated vs. non pressure treated wood for boat trailer bunks. However, most experts will recommend that you buy treated lumber and use galvanized bolts when installing the bunks to help prevent rust for as long as possible. However, some treated lumber can be corrosive to some type of metals, this is something to keep in mind when selecting your replacement wood for your particular boat and trailer.
Staples and Glue
Whether you are replacing the entire bunk board or just the carpet you’ll want to buy some staples and or glue. There are two schools of thoughts in regards to adding the new carpet to the bunk boards. Some people just use thick stainless steel staples others will just use glue and some will use a combination of the two.
The advantage of using glue is that it does a better job at securing the carpet to the bunks, but it’s a lot messier and its much harder to get off when the carpet wears out down the road. This can be a pain when you need to replace the carpet again.
Securing the carpet with just staples is another popular option. This doesn’t secure the carpet as well as glue but it is a lot easier to take off down the road when it’s time to replace the carpet again. I have done this in the past and have good results.
In my opinion using a combination of both stainless steel staples and all-weather outdoor carpet glue is the best option. Using a combination of these two will secure the carpet to the wood and make it easier tear off when it’s time to replace. If going this route, I’d recommend using the glue on the top of the bunk and using the staples to secure the bottom of the bunk.
Bolts and Washers (If replacing an entire bunks)
Much like other materials in this project you’ll want bolts and washers that will hold up under tough outdoor conditions. For this reason, make sure to get marine quality bolts and washers this will typically be stainless steel or galvanized bolts. Consult with your local hardware store to make sure you get set up properly. It’s also best to take one of you bolts off and take it with you to ensure you get the right size.
Step 4: Cut Bunk Boards and Install New Carpet (skip if only replacing the carpet)
If you are only replacing the carpet on your boat trailer bunks, there is no need to complete this step. If you are replacing the entire bunk, follow these steps below:
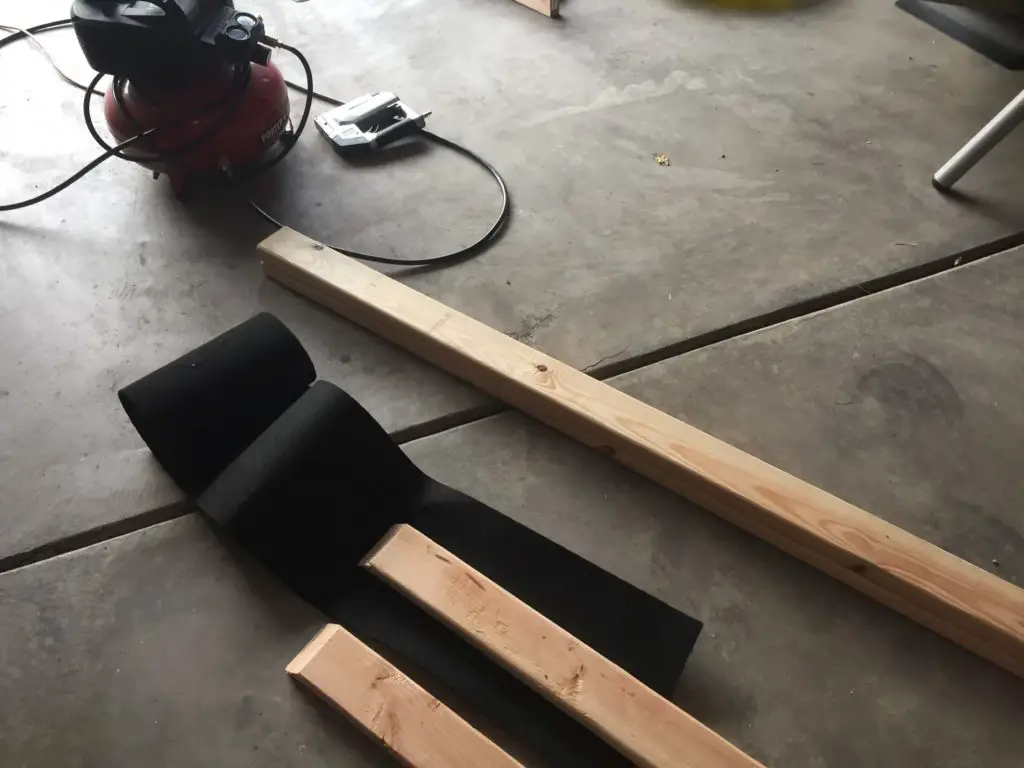
Measure and Cut Bunks
After you have all the right tools and material it’s time to get down to business. At this point you should have already gotten your trailer bunks measured. If not, now is the time to make sure you have accurate measurements. Now bust out your tape measure, a pencil and grab a circular saw and cut the new boards according to your measurements.
Quick Tip: Cut a 90-degree angle on the end of the bunk where your boat will load. This will make it easier for you when you load your boat on the trailer. This doesn’t have to be done but is a nice touch if you are able to get it done.
Measure and Cut Carpet
Once you have all the boards cut to the right size it’s time to start putting on the new carpet. Get out your roll of carpet and put it next to one of your trailer bunks and determine where the carpet needs to be cut. You’ll want to make sure that you leave a 3-4 inches on each end to allow enough carpet to cover them. Once you have determined the right size mark your line with a marker or chalk and cut it with a utility knife. Also be sure to wrap the carpet around the entire bunk and determine if the width should be trimmed or not. Ideally you’ll want a small gap on the bottom of the bunk to allow a space for water to escape.
Install Carpet
Now it’s time to install the carpet on the boards. This process may differ depending on if you decide to use glue, staples or a combination. If you decide to use adhesive, spray or brush glue on what will be the top of you bunk and place it glue side down on the pre-cut carpet roll. Make sure your bunks are properly centered and aligned with the carpet and let it dry for a couple of hours. From there wrap the rest of the carpet around the board and either glue or staple the carpet on the side and back of the board.
If you are just using staples, it’s a similar process. Wrap the carpet around the board and only staple the carpet on the sides and back of the board. This will make sure your hull doesn’t get scratched up by the staples.
Step 5: Unload Boat from Trailer
To complete the rest of the installation you’ll need to get the boat off your trailer. The easiest way for most people will be to head to a boat ramp, unload your boat and tie it off to secure dock close by. I’d recommend having at least one other person with you as it will make your life a whole lot easier. Park your trailer in a safe spot within viewing distance of your boat and start getting the tools and materials ready.
Step 6: Remove Old Carpet and Bunks
Now that the trailer is boat free, remove all of the old bunks or just remove the bad carpet if the bunks are still in good shape. If you are just removing the carpet it will still be easier if you get the entire bunk removed. For this task a cordless drill, socket adapter, socket set and some diagonal plyers will be needed. Take off the bunk boards using your cordless drill and set them aside if you are installing brand new bunks. If you are just replacing the carpet tear the old carpet off and remove all the staples with your plyers. Once all of the carpet has been removed its time to move on to the next step.
Step 7: Add the Carpet Replacement or Install New Bunks
Take your carpet and put it over the bunks making sure the bunk lies in the middle of the carpet. Fold over one of the sides of your carpet and cover the top of the bunk. Now take your staple gun and start stapling the folded edge of carpet to the wood. I would recommend spacing out the staples 3 inches apart or so from each other. Once this is complete, repeat the same thing on the other side. (If you decide to use adhesive refer to step 5 for more details on how to use glue to set the carpet)
Once both sides have been stapled to your bunks, you can now start on the ends. Start by folding the ends into the top of the bunk and tuck them in neatly and carefully staple the carpet to the bunk boards. You can use a utility knife to trim off any unneeded carpet. Repeat this process on the other bunks.
Quick Tip: When wrapping the carpet over the bunk boards be sure to leave a small space between the two ends. This gap will prevent water retention by allowing a place for the water to escape.
Now that the new carpet has been successfully installed or you’d had already done so, lets get the new bunks onto the trailer.
Step 8: Load the Boat on Trailer and Celebrate
Almost there! Now that you have successfully replaced your boat trailer bunks boards and or carpet it’s time to load the boat back up on the trailer. Once that is complete you are all done have successfully replaced the carpet and bunks on your boat trailer. Congratulations!
Final Thoughts
Trailer bunks are an important piece to any boat trailer. They help protect your boat from damage, provide a smooth surface as you launch and load your boat, and support it while its being trailered and stored.
However, let’s be honest, spending a Saturday replacing the bunks on your boat trailer can be a chore, but it’s well worth knowing your hull will be properly protected. I hope these simple steps will help you as you replace your boat trailer bunk carpet. For other great boating and fishing content be sure to check out our other article here at Tilt fishing.